|
<< Click to Display Table of Contents >> Importing Individual Projects from Previous Versions |
  
|
|
<< Click to Display Table of Contents >> Importing Individual Projects from Previous Versions |
|
When importing a project, no project can be open at the time. An individual WinLoG version 3 or 4, WinSieve and WinFence version 2 project can be imported by selecting File > Import > WinLoG , WinSieve and WinFence Data > Project. The Import a Project wizard form below will then be displayed. This form will guide you through the steps of importing a project.
Step 1 Select Project
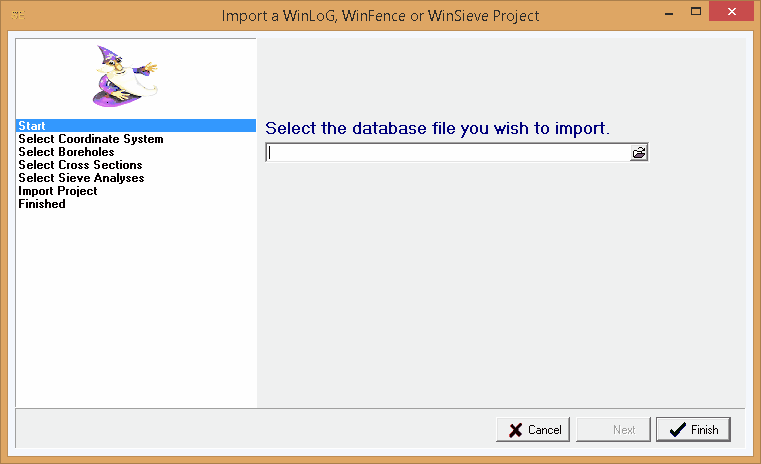
The first step is to select the WinLoG , WinSieve or WinFence project to import. This is the Microsoft Access database file, it typically starts with the project number and ends with "winlog.mdb", "winsieve.mdb" or "winfence.mdb". To select the file click on the button on the right of the file name. After the file has been selected, press the Next button to continue.
Step 2 Select Coordinate System
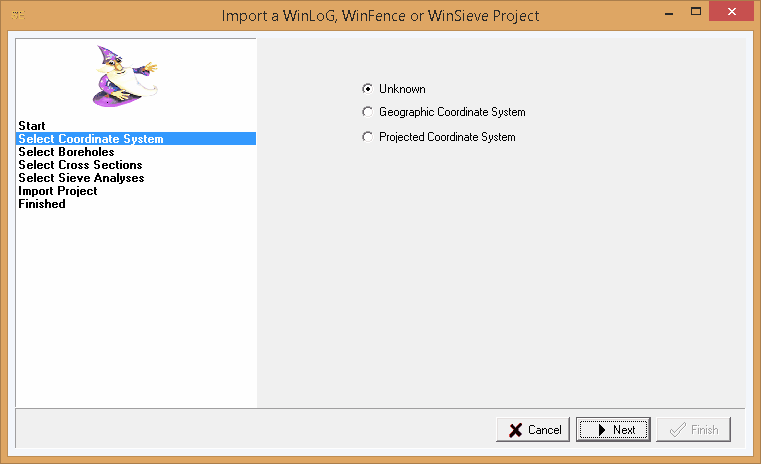
Before the project can be imported, its coordinate system must be specified so that it can be spatially referenced. If the coordinate system is not known select Unknown and the project can be georeferenced later. If the coordinate system is known, select whether it is a geographic or projected system, a combo list of possible coordinate systems will then be displayed to select from.
Step 3 Select Boring/Wells
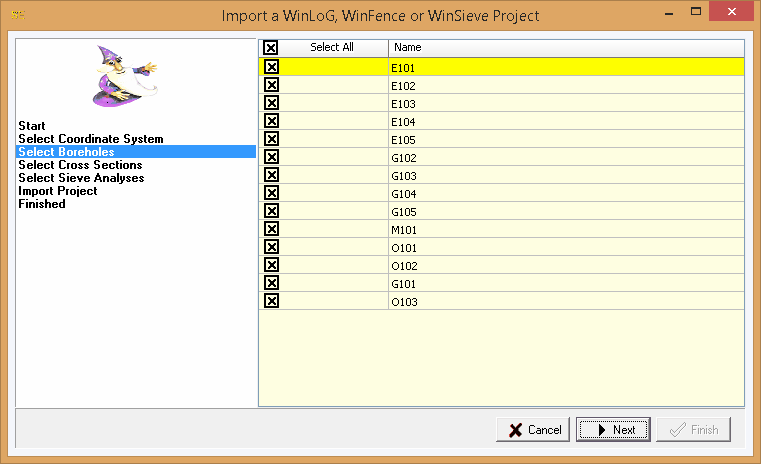
The next step is to select which boring/wells to import with the project. To select a boring/well click on the box beside it's name. To select all or de-select all, click on Select All box. After the boring/wells have been selected, click the Next button to continue.
Step 4 Select Cross-Sections
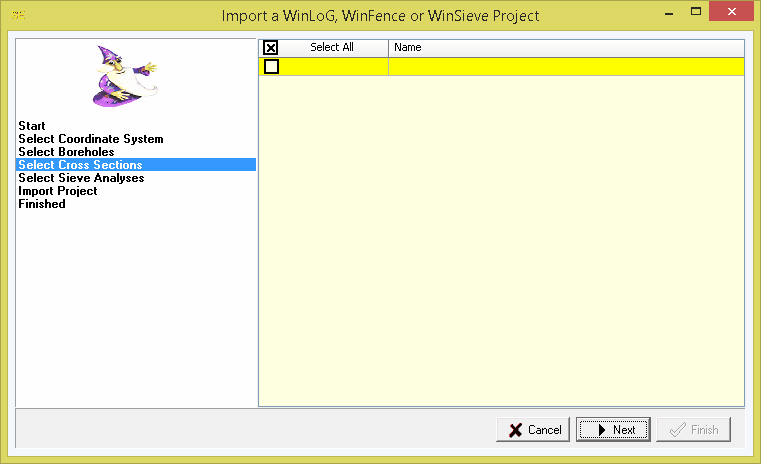
Next if there is a WinFence version 2 database associated with the project, the cross-sections to import need to be selected. To select a cross-section click on the box beside it's name. All the cross-sections can be selected or de-selected by clicking on the Select All box. After the cross-sections have been selected, click the Next button to begin importing the project.
Step 5 Select Sieve Analyses
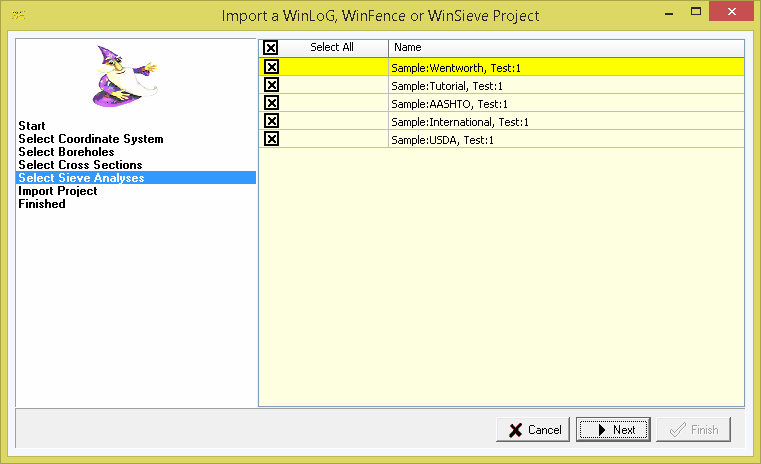
Next if there is a WinSieve database associated with the project, the sieve analyses to import need to be selected. To select a sieve analysis click on the box beside it's name. All the sieve analyses can be selected or de-selected by clicking on the Select All box. After the sieve analyses have been selected, click the Next button to begin importing the project.
After the project has been imported it will be added to the project list.