|
<< Click to Display Table of Contents >> Creating a boring/well |
  
|
|
<< Click to Display Table of Contents >> Creating a boring/well |
|
![]()
Boring/Wells can be either creating by positioning them on the project map or by entering their coordinates manually.
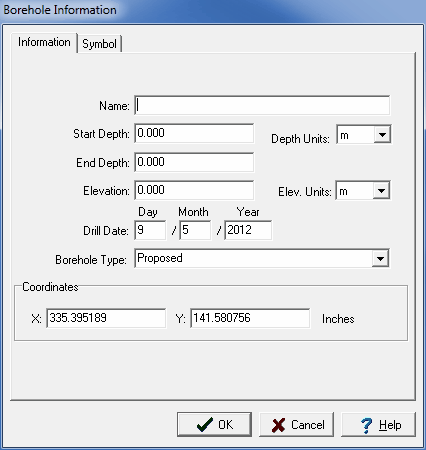
•To create a new boring/well by positioning it on the project map either click on the New Boring/Well button on the toolbar, click on the New button on the main toolbar and select Boring/Well > Locate on Map, or select File > New > Boring/Well > Locate on Map. After this you will need to click on the location of the boring/well on the project map. When the location has been clicked on the Boring/Well Information form below will be displayed.
•To create a new boring/well by entering the coordinates manually either click on the New button on the main toolbar and select Boring/Well > Locate Manually, or select File > New > Boring/Well > Locate Manually. After this the Boring/Well Information form below will be displayed.
Information Tab
(The appearance of the form will differ slightly depending on if it is WinLoG or WinLoG RT)
The following information can be entered on this tab:
Unique Boring/Well ID: This is the unique well ID for the boring/well.
Name: This is the name of the Chapter 5.
Start Depth: This is the start depth of the boring/well relative to the ground level. If the boring/well starts above the ground, this value will be negative.
Depth Units: This is the units for the depth, either feet or metres.
End Depth: This is the end depth of the boring/well. If the boring/well is deviated this will be the depth down the hole and not the true vertical depth.
Elevation: This is the elevation of the boring/well relative to sea level.
Elevation Units: This is the units for the elevation, either feet or metres.
Spud Date: This is the date the boring/well started drilling.
Boring/Well Status: This is the status of the boring/well.
Units: This is the units for the X and Y coordinates of the boring/well. Normally these will be in decimal degrees.
X-Coordinate: This is the X coordinate for the boring/well. Normally this will be the longitude.
Y-Coordinate: This is the Y coordinate for the boring/well. Normally this will be the latitude.
Symbol Tab
(The appearance of the form will differ slightly depending on if it is WinLoG or WinLoG RT)
This tab is used to select the symbol used to display the boring/well on the project maps.
Selecting the Template
After the boring/well information and symbol have been specified, the Select Template form below will be displayed.
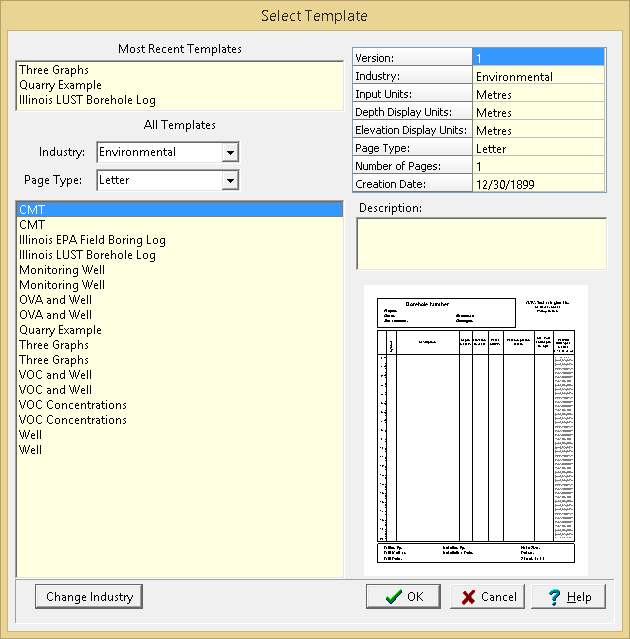
(The appearance of the form will differ slightly depending on if it is WinLoG or WinLoG RT)
This form displays lists of most recently used templates and all templates on the left side. The right side will display the details of the highlight template, some of the details of the most recently used templates are not displayed. At the top of the all templates list the industry type and page type for the template can be selected, these can be used to refine the list of templates. To select a template, highlight and press the Ok button.The boring/well log will then be created and displayed. It can be edited as described in the sections below.